First Steps with Flow-Flow for WordPress
Suppose you've already installed and activated Flow-Flow plugin as described in Installation article. Let’s navigate to the WordPress Admin Panel and setup our first Stream.
Authenticate your site with social networks
Some social networks require auth keys for (sic!) your website before you can pull any content from there. At the time of this writing authentication part is necessary for Facebook, Twitter, Instagram and Google+. If you want to stream content from any of these networks you need to setup it accordingly to specific SN terms. These settings must be stored under Auth tab. We strongly recommend to begin with this step.
Further reading: Setup Social Networks
Creating your first Stream
- Open plugin settings page and click Feeds tab.
- Click Create Feed button and add 1 or more feeds for your future stream.
- Choose social network and setup feed accordingly to simple rules described with visible hints. Don’t ignore them because it’s the part of common mistakes.
- Go to Streams tab and click Create Stream button.
- Name your stream.
- Using +Connect feed to stream button associate 1 or more previously added feeds with your stream.
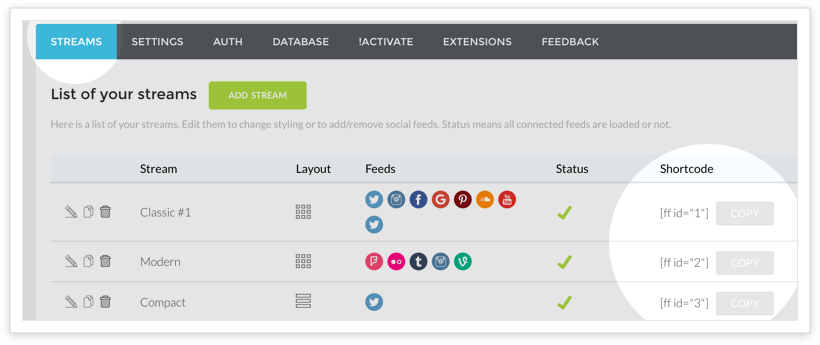
From this point, your settings are done if you don’t really need any further customization. Go through all other tabs to design, style and setup your stream. You can save it, then go back to the list and that’s it. Now you see the list with newly created Stream and it’s shortcode.
Inserting Stream on page
Copy and paste shortcode found on admin page on streams list on any page or post. Here is more info about Shortcodes.
Quick video guide
Further Reading
- How to Add Social Feeds to WordPress with Flow-Flow (WPExplorer)